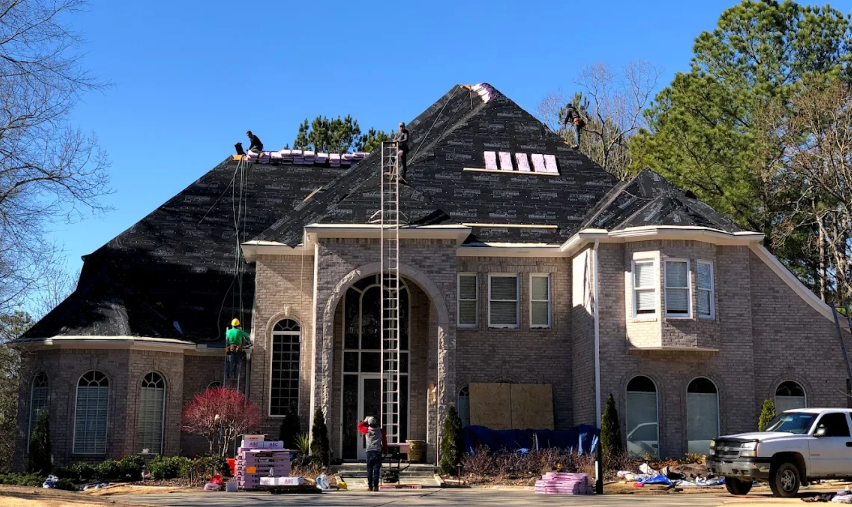
How Will My New GAF Roof Be Installed?
- Micah Harris
- Jun 28, 2023
- 3 min read
How Will My New GAF Roof Be Installed?
Installing a new GAF roof can be a complex and challenging undertaking. It requires careful planning and preparation and an experienced crew to complete the job safely and correctly.
The process involves several steps outlined below:
Obtaining the Necessary Documents
Before installing a new roof, acquire all the necessary documents. These documents are vital as they help you navigate the installation process and ensure you stay compliant with regulatory authorities. One such document is a building permit. A building permit is essential as it helps you stay within the confines of building regulations and ensures that the roof meets safety standards. Another critical document is the manufacturer's warranty. The warranty provides protection should any defects arise in the materials during the installation process.
Finding a Reputable Contractor
When considering a roofing project, the first step should always be to find a reputable contractor certified by GAF. This simple step can improve your roofing system's results and longevity. Why? GAF certification ensures your contractor has undergone rigorous training and has a proven track record of quality workmanship. With this certification, you can be confident that you are getting high-quality, durable materials and that the work on your roof is done right the first time. Don't take a chance on fly-by-night contractors who may cut corners or use inferior materials. Choose a GAF-certified contractor and enjoy peace of mind with a job well done.
Removal of the Existing Roof and Inspection of the Roof Decking
When installing a new roof, the first step is always the removal of the old one. Following removal, the roofing contractor thoroughly inspects the roof decking to check for any underlying damage or rot. They will make the necessary repairs and replacements to ensure the roof has a solid foundation to which the new materials can adhere. The roofing contractor will then begin installing the new roofing materials.
Placing the Drip Edge and Underlayment
The drip edge is a thin metal strip installed along the roof's edges, while the underlayment is a material placed beneath the shingles. Together, these two components prevent water from seeping into the roof deck and causing moisture damage. Proper installation of the drip edge and underlayment is crucial to the overall effectiveness of the roof.
Installing Water and Ice Barriers
These barriers protect your home from the damaging effects of moisture. They comprise a waterproof membrane, which can be applied directly to the foundation or roof of your home. This membrane reduces water damage by preventing water infiltration into the structure. When installed in areas with continuous freezing temperatures, water and ice barriers prevent the formation of ice dams. These barriers can also be used with other waterproofing measures, such as sump pumps or drainage systems.
Waterproofing the Valleys
Before installing a roof cover, the contractor must take the necessary measures to waterproof the roof to protect from any roof leaks leading to roof repairs. One of the most critical aspects of this process is waterproofing the valleys. These areas are susceptible to water damage, as they are where two sloping sides of a roof meet. This process involves adding a protective material layer to prevent water from seeping through, damaging the roofing structure.
Installation of the Roof Cover
After framing and sheathing a roof, the next step is installing the roof cover. The roofing material used differs depending on the climate, style, and durability desired. Common materials include asphalt shingles, metal sheets, clay tiles, and wooden shakes. You should hire a licensed and insured contractor for proper installation. It ensures the roof withstands harsh weather conditions. Skilled professionals consider the roof's pitch, slope, and ventilation requirements to prevent water leakage. The installation will involve laying down a protective underlayment and fastening the chosen roofing material to the roof deck. A high-quality roof cover provides long-lasting protection and aesthetic appeal.
Flashing and Capping the Ridge
After installing the roof cover, attention must turn to protect the roof's vulnerable areas. Flashing is a thin strip of metal installed around the openings and edges of the roof near chimneys, vents, and skylights. Its job is to prevent water penetration by redirecting water away from these vulnerable areas. Once the flashing is in place, the final stage is to cap the ridge. It involves sealing the roof's peak with a ridge cap to ensure it is water-tight and provides a seamless finish.
Contact Us!
As certified GAF roofing experts, we have the experience and expertise to provide top-notch roofing solutions. Our team of professionals is qualified to complete your roofing projects with precision and accuracy. We also commit to providing an excellent customer experience. Choose us and let your imagination run wild with your dream roof design. Contact us today to learn how we can address your roofing needs.


Comments